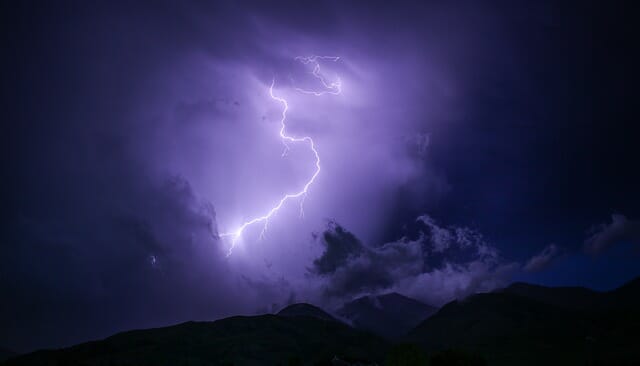
Thunder and lightning is nature at its best, in my opinion. Growing up in the south on England it was always a rare event to have a thunderstorm that would be talked about the next day. We’d get them, but they were rare, and often passed with only a few strikes.
It was not until moving to Australia that I realised what a thunderstorm is and when they come, they hit hard. Turning the night sky into day, is exactly how it can be described and the power of the storm is truly immense. Recording thunderstorm sound effects is a very enjoyable experience, but one that can test your ability to prepare and capture the sound without dangering yourself or others and to get a good sound with no distortion.
Often it’s more likely you’ll have an hour or even less warning that there is a storm about to unleash it’s fury. You get used to watching forecasts on the TV and in storm season, you tend to always have some recording kit ready to go. I have two portable recorders with me most of the time, a Sony PCM D100 and a Zoom H5. The Zoom is the recorder that i’m happier to take risks with such as getting wet as it’s cheaper and easier to replace. Things to check for are obviously times, if there will be hail and wind direction or changes to the direction. You’ll possibly need a high wind cover for your microphone as winds tend to whip up in storms and you”ll need to think carefully about clothing.
Where will you record? This is an important consideration due to a number of factors such as the acoustic environment. I used to go to a deep valley to record when a big storm was approaching for two reasons. One, it was a rural location so had less urban noise and if there was any, you’re deep into the ground so it’s less likely to affect the recording. Two, the valley is surrounded by hills with grass, great for absorbing sound and giving a nice reflection free recording. There is an old farm house there that’s abandoned and mostly has no roof. This spot was my favourite because there were sections that protected you from any rain, but had a soft roof covered in grass and moss which meant the rainfall wasn’t hitting anything hard that affects the recording. My current home has a metal roof and rain hitting this causes a very noisy sound, one that detracts from the thunder and lightning.
So you’ll likely need a spot that is away from traffic and other unwanted noises, one that is safe (no large power lines to blow next to you) and one that offers you shelter, without becoming a resonating surface when the rain hits it.
So you’re ready to go, your recorder is set up and you can see the lightning in the distance, soon to hit. Have you set your recording levels? This is a difficult one to get right as you just don’t know what levels will be required and will need to adjust them while recording. But in the first instance, you can use the inbuilt limiter if your recorder comes with one. Set it to a standard default mode if need be and clap your hands near the recorder to test how harsh the limiter is and set a rough level. If you set the limiter too hard, you’ll either hear a harsh chop sound, or it’ll just distort. Get a good base level and adjust from there.
Make sure you’ve set your equipment in an area they aren’t going to get wet or blown over by strong winds. As mentioned before, don’t place the equipment under a noisy cover such as metal or plastic. I have experimented with all sorts of shelters in the past, but I tend to use a wooden board and cover it with towels or an old duvet or both. These will get soaked but they’ll absorb the imapct of the rain and stop it ruining your recording. If you experiment with this, make sure to have a strong and sturdy frame, as once they get wet and hold all that water, they’ll become heavy. The last thing you want is it collapsing on your equipment, ruining the recording or worse, damaging your equipment (and you if you’re under it too).
If you’re about to go out and try recording thunder and lightning sound effects, stay safe!
Download SFX
Checking your download limits
Add to list
Please select the list to add to.
List Details