As some of you may know, we recently moved to Australia from the UK and part of the move meant we’d leave our old studio behind, leaving us with a bit of a dilemma once we reached the other side. Back in England we had a studio with a small yet functional acoustically treated room. This was the space we used to record our Foley sounds. But once we reached Australia, we suddenly were faced with the problem of no dedicated space to record. This wasn’t an instant issue however as we spent a lot of our time out recording ambiences, rainforests, the sea… the great thing about being somewhere completely new is it opens up lots of new environments and ambiences to record. However there came a time when we wanted to get back into the studio to record all the other sound effects we had planned.
I firstly used a spare room in the home we rented, however being close to an airport and a suburban area, dealing with planes, cars, lawnmowers and the odd BBQ, we had to move. Luckily a great office space came up not far away. But as anyone will know who has rented, sticking things on walls isn’t a great idea. So rather than glue a load of acoustic foam tiles to the walls, we built a portable solution.
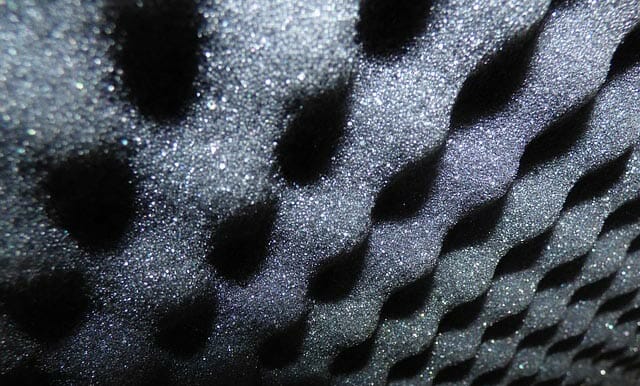
Surprisingly, acoustic tiles are not that expensive and they are relatively easy to acquire. Our local DIY store even sells them. But I bought 40 on eBay for $80 which I think is pretty good. They are 30cm x 30cm which actually worked out very well as the local DIY shop had wood panels that were 40cm wide. Leaving an extra 5cm of wood at each side of the foam panels meant the wall could fold better. I purchased the ridged variety as that meant I could alternate the direction they faced when applied to the wood to give greater diffusion.
Next up was to make a decision about the type of wood to use.
The idea behind the acoustic wall was that it would be several panels on hinges so that I could change the shape and fold it for easy transportation. I therefore needed strong wood that was light weight and easy to balance. I opted for plywood. I needed 5 panels. 4 x walls and 1 x roof. I also needed 6 hinges to make sure the folding wall worked properly and didn’t fall over.
Attaching the foam panels was done with liquid glue. Making sure the panels were level and in the right place first off is important as the glue dries very quickly and after a couple of minutes, the tiles can’t easily be moved. After a day the wall was ready.
The wall was a great idea and one that has worked very well. We now have a small corner that we can use to record Foley and get a nice isolated sound without too much room reflection and colouring. Choosing plywood was also a good choice because I regularly move the wall around and the wood doesn’t flake. The downside to it is you don’t get a studio grade sound as I think I’d need to at least double the size and wrap it around in an octagon shape to gain better isolation from the room. But the sounds I’ve recorded inside, or up against the wall are much better than those that are not. However this is a temporary solution while we source permanent studios so I’m not too worried.
Building this wasn’t expensive at all. In total I spend $80 on tiles, $75 on wood, $20 on hinges and $10 on glue. So that’s a grand total of $185. I’ll likely double the size and have to spend a bit more but I’ve just about enough tiles left for that!
Download SFX
Checking your download limits
Add to list
Please select the list to add to.
List Details